One of the most important things you can do to conserve energy and save money is to seal and insulate the home envelope. A well-sealed home helps lock in the cooled air your air conditioner has worked so hard to produce. It also helps keep the weather from coming inside, which of course, has a direct impact on the performance of your system. Adding insulation after sealing serves as a vital final touch in saving energy by creating an effective thermal barrier. Find out why sealing and insulating your Columbus area home is so important, and get tips to make it a successful DIY project.
Seal and Insulate the Home Envelope: Why Do It?
The holes, cracks and gaps that appear in any home are an inevitable part of its aging process, but since they’re a major source of energy waste, they’re definitely something that should be repaired. On top of increasing utility costs, air leaks put added strain on the A/C, which can lead to breakdowns and early system failure. Leaks can also contribute topoor indoor air quality, and such energy waste is detrimental to the environment. Once air leaks are sealed, installing adequate insulation should be the next step. You can save up to 20 percent on cooling expenses if you seal and insulate the home envelope, according to the U.S. Department of Energy.
Before You Get Started
Conduct a simple test yourself to find air leaks in your home. On a breezy day, hold a lit incense stick or a smoke pen up to windows, doors, electrical outlets and any other place where air may have the opportunity to pass. You’ve found a leak if the smoke moves horizontally.
Tips for Sealing Air Leaks
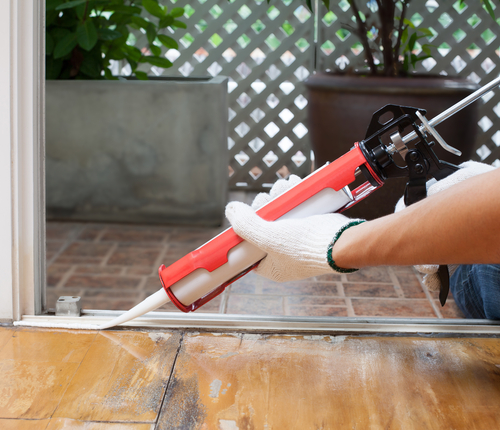
Seal leaks around moveable features in your home, such as doors and windows, with weatherstripping. Use caulking on stationary parts, like door frames. The packaging for weatherstripping and caulking offers valuable tips for the application process and tells you what supplies are needed to install it.
Weatherstripping
- Use a cheaper type of weatherstripping in low traffic areas, such as open-cell foams or felt, to save money. They aren’t as durable, but usually suffice in such locations. Cheaper types are also easier to install.
- Figure out how much weatherstripping you should purchase by measuring areas that need it and then adding 5 to 10 percent to that number. You should also measure the area to be weatherstripped two times before you cut off a section.
- Keep the strip in one piece along any given length, and make sure it’s installed snugly into the corner sections.
- Make sure the whole door jamb gets weatherstripped.
- Ensure the weatherstripping is thick enough to form a tight seal when the doors or windows are closed. Just make sure it’s not so tight that it becomes hard to open and close.
Caulking
- Caulk only when it’s dry outside and temperatures are above 45 degrees.
- Remove any old caulk and paint from the area that needs application.
- Apply the caulk in a continuous stream.
- Make sure caulking sticks to either side of a crack or seam.
- Push back any caulk that oozes through cracks with a putty knife.
- Hold the gun at a 45-degree angle and keep a consistent angle while applying the caulk deep into a crack.
- Make sure you get all the joints and the joint in between the wall and the frame when applying caulk in a window frame.
- Release the trigger of the caulking gun before pulling it away to avoid applying too much caulk.
Tips for Adding Insulation
- Determine if you need more insulation in the attic by looking across the uncovered flooring. If the insulation is at the same level or lower than the attic floor joists, you should install more.
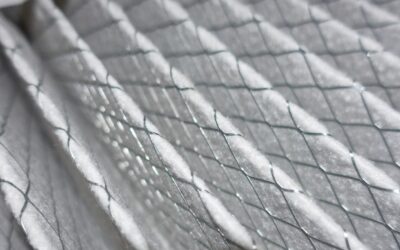
- Install insulation that has an R-value of at least 38, regardless of the type you choose (fiberglass, rigid foam board, cellulose or spray foam).
- Add a foot of fiberglass or cellulose insulation to your attic floor for an economically effective way to prevent heat transfer.
For more tips on how to seal and insulate the home envelope, please feel to contact us at Indoor Solutions, Inc. anytime.
Image Provided by Shutterstock.com


